Apps in Blueprints
This article explains how to use Apps in blueprints. For additional information, see Apps Overview.
In this article:
View Apps
To view Apps:
-
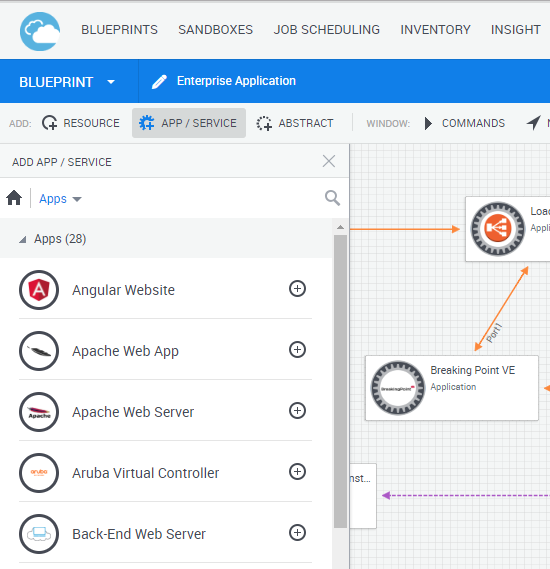
In the Diagram view, in the toolbar, click Add App / Service
The Add App / Service pane is displayed.
-
Browse the catalog by selecting an Apps folder or by using the text search.
The list of folders is displayed, grouped by the App families.

Add Apps
Note: To enable the deployment of Apps based on a public cloud like AWS EC2 or Azure, make sure the blueprint is configured to run a setup script that can prepare connectivity in the sandbox, like CloudShell's out-of-the-box Default Sandbox Setup script, and add at least one public cloud App to the blueprint to initiate the script's connectivity process for the cloud provider during the Setup phase of the sandbox. For additional information, see Configure Blueprint Orchestration.
Tip: Before you add a Subnet service, read through Subnet Connectivity - Points to Consider.
To add an App to the diagram:
- In the blueprint or sandbox workspace, click App / Service.
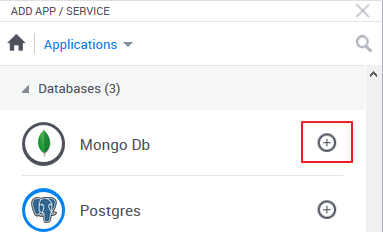
- In the Add App / Service pane, click the ‘+’ icon of the App or drag it from the pane into the diagram.

-
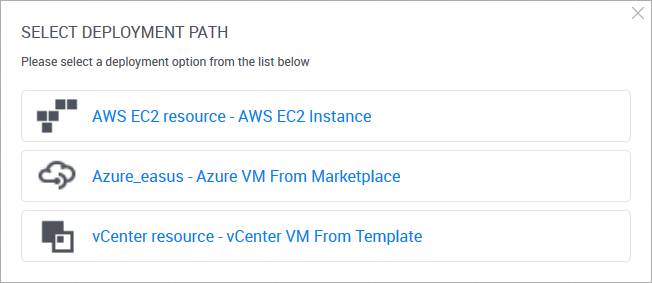
If the App has multiple deployment options in this domain, the Select Deployment Path window is displayed, prompting you to select the deployment option to use. For example:

The App is added to the diagram.
Edit Apps
Note: For Apps connected to a subnet, all Apps in the same subnet must use the same cloud provider resource.
To change an App's deployment path in the diagram:
- Open the diagram.
- Hover over the App. From the context menu, select Change deployment.
To edit an App in the diagram:
- Open the diagram.
-
Hover over the App. From the context menu, select the Edit option.
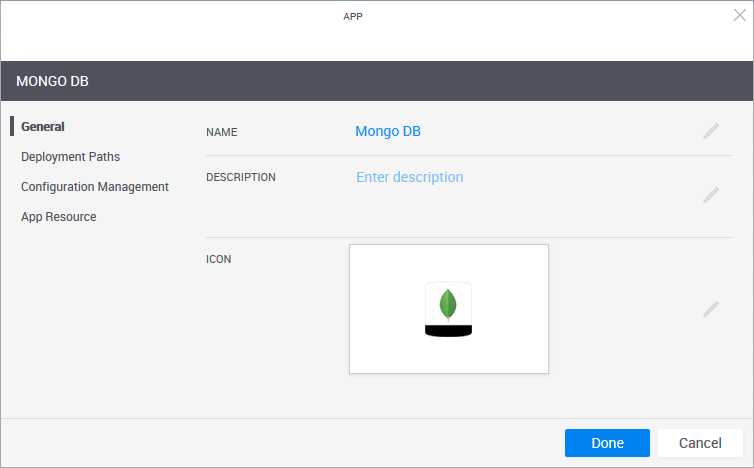
The App dialog box is displayed.

-
In the General page, you can edit the App's Name, Description and Icon.
Note: The App's name has a limit of 100 characters and can only contain alpha-numeric characters, spaces, and the following characters: | . - _ ] [
-
In the Deployment Paths page, you can change the settings of the virtual machine to be deployed.
- Select which deployment path to use. Note that only deployment paths that are based on cloud provider resources in your domain are displayed.
- Additional deployment settings are provided depending on the deployment path you selected, but you need to be an admin to edit them.
-
In the Configuration Management page, you can add, remove and configure the parameter values to be used by the configuration management tool.
If the blueprint has global inputs, you can also set the parameter to receive the value that the sandbox end-user specifies for a global input when reserving a sandbox containing the App. To do this, enter a meaningful name for the parameter, click the parameter's "{+}" button and select the global input. The global input is displayed in the parameter's value, surrounded by curly brackets "{}". In the image below, the App's blueprint has a global input called "global input 3":

- In the App Resource page, you can select a different Shell for the deployed App.
- Click Done.
Refresh Apps
Use this option to revert back to the definitions of the App template. Note that any changes made to the App itself in the blueprint will be lost.
To update an App:
- Open the blueprint diagram.
-
Hover over the App. From the More Options menu, select the Refresh From Template option.
Note: If the App's template has been deleted, this option will not be available.
-
In the confirmation window, click Yes.
Note: If the App's default deployment path has been renamed or removed from the App template, the operation will complete but the App will not be associated to a deployment path.
Delete Apps
This procedure explains how to delete Apps from a blueprint.
To delete an App from the diagram:
- Open the blueprint diagram.
-
Hover over the App. From the context menu, select the Commands option.
- In the Application Commands pane, click Delete App.
